Step 3. Launch a EC2 Instance
- Visit the EC2 console and click “Launch Instance”.
On the following page, please use the following parameters for defining the attributes of the virtual machine that we are about to start up for the Wordpress instance.
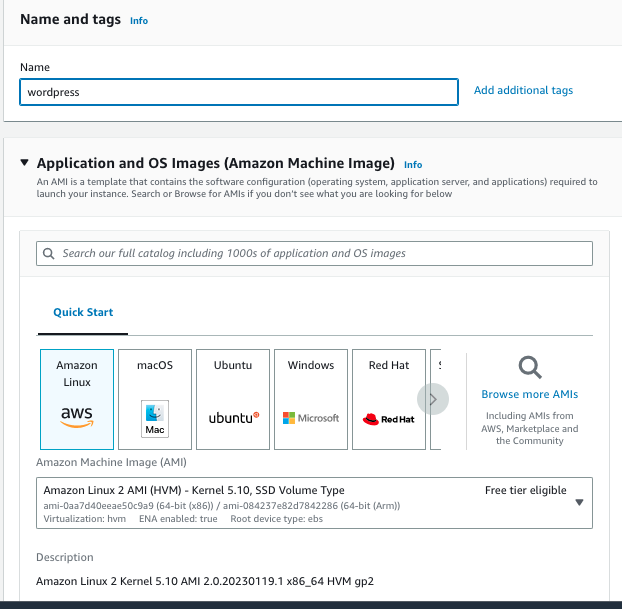
- Name:
wordpress - Application and OS Images (Amazon Machine Image): Amazon Linux (should be pre-selected)
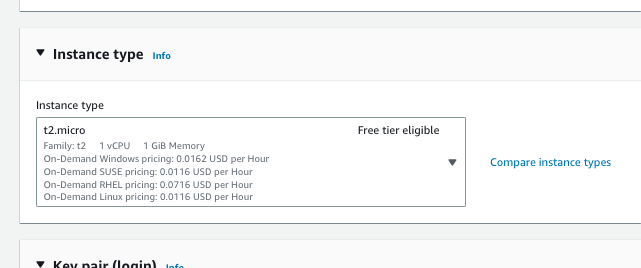
- Instance type: t2.micro (should also be pre-selected) Note: be sure to use only instances types that are marked as “Free tier eligible” to avoid additional charges on your AWS account.
- In the section “Key pair (login)”, click “Create new key pair”. A dialog will open.
- As “Key pair name”, enter
wordpress. - Click “Create key pair”. This will download the private key file to your local machine, that we will need later for connecting to the machine.
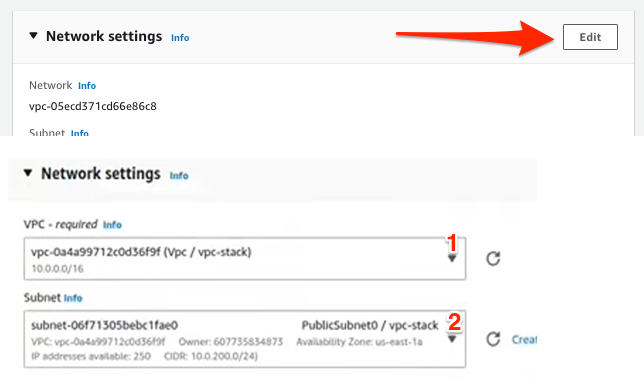
- In the section “Network settings”, click the “Edit” button on the top right.
- For VPC, select “Vpc / vpc-stack” (the VPC we’ve created earlier).
- For Subnet, select “PublicSubnet0”.
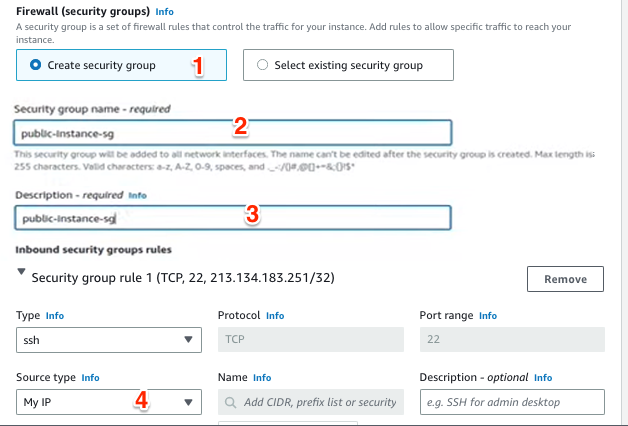
- For Security group name, enter
public-instance-sg. - Copy the same to the Description field.
Leave the remaining settings as they are and then click Launch instance.